

How to install a Japanese toilet seat in 5 simple steps
Installing a Japanese toilet seat immediately transforms your toilet into a true space of comfort and modern hygiene. This detailed guide presents five simple steps for a successful installation, without the need for a plumber or electrician.
You will learn how to check the necessary conditions, gather the right tools, and follow each phase of the installation safely.
Installation in summary
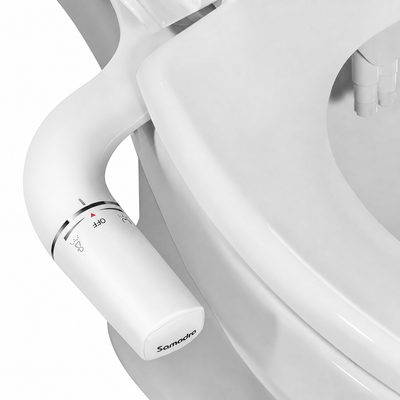
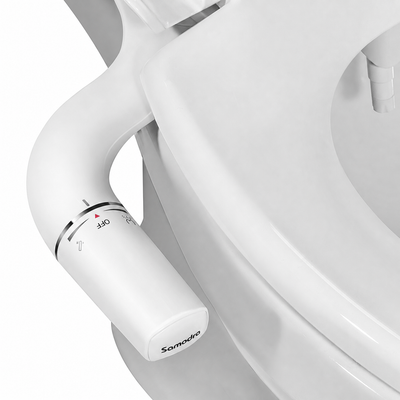
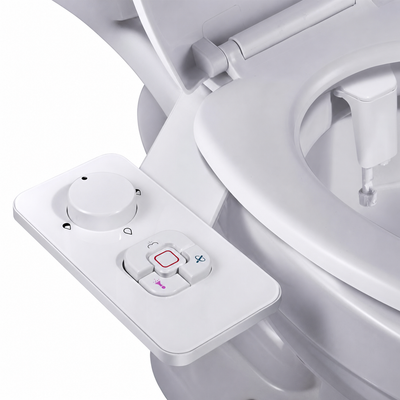
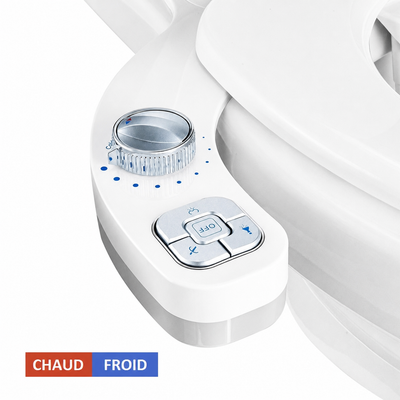
Before starting, ensure that your toilet bowl is securely fixed and that the flush is working correctly. A Japanese bidet toilet seat consists of an integrated spray nozzle, a washing mechanism, and a control panel — either a side panel or a remote control.
Installation consists of five actions: removing the old seat, installing the new mounting bracket, connecting the supply hose, attaching the toilet seat, and finally testing for leaks and operation. That is all. No complex tools are required.
Prerequisites
First and foremost, check that your toilet bowl is compatible with the provided kit. This two-minute check will save you any unpleasant surprises.

Toilet bowl compatibility and measurements
Everything starts with the shape of your bowl. D-shaped, O-shaped, and V-shaped models are all compatible, provided the distance between the mounting holes is between 8 and 21 cm — the vast majority of French toilet bowls are around 15 cm.
- D-shape (elongated): the most common in France. It offers a very stable seat for the mounting plate.

- O-shape (oval): rounded bowl, compatible with most kits, provided the screw spacing is measured.

- V-shape: also quite common; it simply requires precise measurement of the mounting holes.

The space between the wall and the back edge of the bowl must be at least 10 cm to accommodate the connection comfortably.
Water supply and electrical connection
Your water supply must have a standard 3/8 inch (12/17 mm) or 1/2 inch thread to accommodate the provided T-adapter. The pressure must be between 1.5 and 3 bars.
If the model is electric, provide a dedicated, grounded outlet protected by a 30 mA residual current device (RCD) and compliant with the NF C 15-100 standard, located within 1.20 m of the toilet.
Tools and parts to prepare
Gather an adjustable wrench, a Phillips screwdriver, a spirit level, Teflon tape, and a cloth. That is all.
- Adjustable wrench: to tighten the fittings without damaging the threads.
- Phillips screwdriver: to screw the mounting plates in place.
- Teflon tape: for sealing connections at the shut-off valve.

Before mounting, close the supply at the shut-off valve, empty the tank, and clean the bowl. Then unpack the bidet seat, T-adapter, braided hose, washers, and the manual for the Japanese toilet seat kit.
Step 1: removal of the old seat and fixing the mounting plate
The first step consists of removing the old seat to prepare a clean and stable surface. A successful installation depends entirely on methodical disassembly.
Remove the old seat and clean
Close the shut-off valve behind the toilet, then unscrew the two side fastenings of the old seat. Lift it carefully to avoid chipping the ceramic, then wipe with a damp cloth to remove limescale, dust, and household product residues.
Dry completely, locate the mounting holes, and check that their spacing matches the new kit. Then position the provided template to mark the location of the plate.
Install the mounting plate
Place the plate over the existing holes, align it with the template marks, and insert the fasteners. Start by screwing in by hand to center it, then tighten each screw with the screwdriver — firmly, but without forcing.
Check the horizontality with the spirit level: the plate must remain perfectly flat, otherwise the kit will become loose.

Attach the seat and check stability
Insert the seat into the support rails until it clicks, then lock the soft-close mechanism. Press lightly on the front, back, and sides to ensure there is no play left.
Operate the release button to test the removal — this action is what you will use for each cleaning — then tighten by a quarter turn if any movement appears. Finally, ensure that the gap between the seat and the bowl remains constant: an asymmetry means the plate needs to be loosened and repositioned.
Steps 2 to 5: connection and commissioning
It is these steps that turn a simple seat into a real Japanese toilet. The connection remains accessible, provided you proceed methodically.
Connect the water supply with the T-adapter
Wrap three to four turns of Teflon tape clockwise around the threads of the T-adapter. Screw it in by hand first, then finish gently with the wrench. To install a seat on a wall-hung toilet, start by locating the hose, usually hidden behind the support frame.
- Check the thread: 3/8 or 1/2 inch depending on the model.
- Apply the tape in the direction of tightening, otherwise it will peel off.
- Tighten gradually, in quarter turns, checking for leaks each time.

Then connect the braided hose to the two outlets of the T-adapter. Tighten moderately to preserve the seals. The hose must reach the inlet of the bowl without being too tight or too loose. On hot water models, first install the mixer tap between the hot supply and the T-adapter.
Connect the power supply safely
For electric Japanese seats, provide a dedicated wall outlet, protected by a 30 mA RCD and grounded, located within 1.20 m of the toilet. Never use a power strip or extension cord in a bathroom.
Test the sprays and adjust functions
Slowly open the water supply valve and inspect each connection: the T-adapter, hose, and bowl inlet must remain perfectly dry. At the slightest trickle, tighten further or add Teflon tape.
- Front spray: check its orientation, flow rate, and temperature.
- Rear spray: ensure it covers the area well without splashing outside the bowl.
- Drying: check that the warm air blower activates correctly.

Then adjust the functions — massage, feminine wash, rear wash, eco mode, spray intensity — according to your preferences. Adjust the water temperature between 35 and 40 °C. Finally, operate the manual rinsing of the nozzles to verify that they extend and retract smoothly.
For step-by-step illustrated explanations, consult our video installation guide.
| Function | Check | Adjustment range |
| Front spray | Correct orientation, stable flow | Low to powerful |
| Rear spray | Good coverage, no splashing | Low to powerful |
| Water temperature | Comfortable, never scalding | 35-40 °C recommended |
| Drying | Tolerable heat, automatic shut-off | Continuous or timed |
| Massage | Regular pulsation | Light to intense |
Frequently Asked Questions
How to install a Japanese toilet seat without a plumber?
Thanks to the complete kit provided, installation is within reach of any patient handyman. Turn off the water supply, remove the old seat, fix the plate with the provided screws, install the T-adapter, and screw on the hose. Perform the electrical connection if your model requires it. Finally, test the seal and pressure to validate the installation.
Will my Japanese toilet seat be compatible with my bowl?
Three elements to check: the shape of your bowl, the spacing of the fasteners, and the distance to the wall. Our kits accept a hole spacing of 8 to 21 cm and require at least 10 cm of free space at the back — which covers 99% of standard bowls.
Also check the thread of your water supply: 3/8 inch in most cases. If yours differs, a simple adapter can be found for a few euros at a hardware store.
What to do in case of a leak after installation?
A leak almost always comes from an insufficiently tightened connection or a lack of Teflon tape. Immediately turn off the water supply, dry the area, and precisely locate the source. Tighten the connection by another quarter turn.
If the problem persists, unscrew it, apply four new turns of Teflon tape, and screw it back on firmly. As a last resort, replace the hose.